Product usually in stock and ships in 1-5 days.
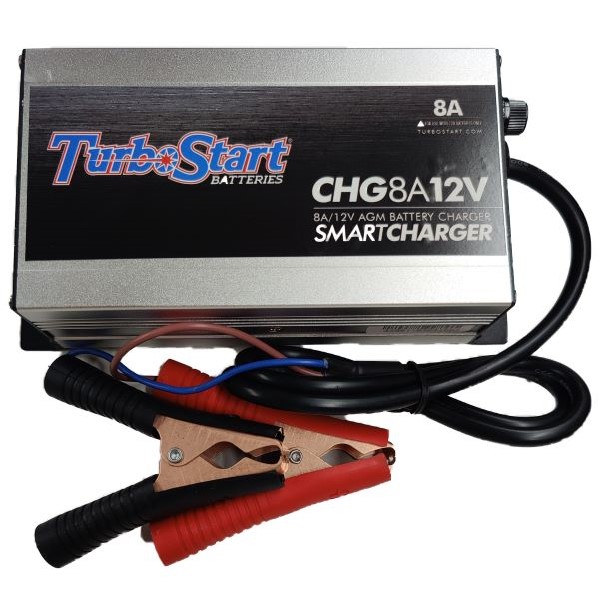
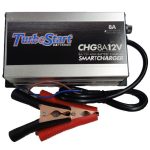
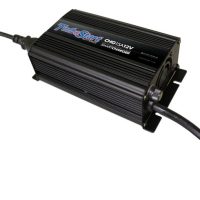
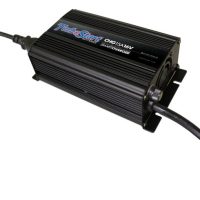
TurboStart CHG8A12V 12 Volt 8 Amp AGM Battery Charger
$99.99
SKU:
CHG8A12V
Categories: Top Selling Chargers, TurboStart, TurboStart 12/16 Volt Chargers
Description
TurboStart CHG8A12V 12 Volt 8 amp AGM Battery Charger
Microprocessor Controlled Three-Stage
12 Volt Automatic Battery Charger
The CHG8A12V is an advanced battery charger designed specifically for high performance 12V
Sealed lead-acid batteries. This charger combines the reliability of a High Frequency Mosfet
Rectified assembly with an advanced microprocessor control board to create a battery charger
and safely that can rapidly recharge 12V maintenance free, deep cycle, gel-cell, and AGM
(Absorbed Glass Mat) batteries in several sizes.
Three-stage charging –
At the heart of the technology in this Charger is the three distinct charging stages. During the first
stage, called “Bulk” charging, the current is fixed and the voltage is allowed to float. During this stage,
80% of the battery’s capacity is restored. When the battery’s cell voltage is up to the correct level,
the second stage called “Absorption” charging is engaged. During this stage the voltage is fixed and
the current is allowed to float. The battery is brought to 100% during this stage and the cells are
equalized. The third stage is “Float” charging. During this stage the voltage and current are reduced
to a level that will maintain the battery indefinitely.
Several microprocessors are used to tightly control the entire process. This is the same technique
that battery manufactures recommend and use in the production of new batteries and it is the
fastest and safest technique for battery charging.
Compatible With Most Lead-acid Batteries Including AGM –
Lead-acid batteries have different charging requirements based on their specific design.
Overcharging will reduce the life of any battery as sealed valve regulated batteries are especially
sensitive to high charging voltages and overcharging. Overcharging an AGM or gel-cell battery will
cause permanent damage.
Voltage Monitoring –
The battery’s terminal voltage is measured every five minutes by the on-board microprocessors and
this information is analyzed in addition to the elapsed time to dynamically control the battery
charger for optimum charging performance.
UL Approved Battery Cables –
3.9 feet of durable battery cables are provided that are resistant to cuts and abrasion. The copper
plated battery clamps are compact and custom designed easy connections. All clamp connections
are soldered for maximum current flow.
Automatic Computer Analysis/Auto Shutdown –
The microprocessors will analyze the battery when connected. If the battery’s voltage is below 4V
the charger may not recognize the battery is connected and will not begin charging. Likewise, if the
battery will not come up to the correct voltage in a ten-hour period the microprocessor control
board will automatically shut the charger off.
Internal Cooling Fan –
A cooling fan automatically operates during charging to keep the circuit and other internal
components at a constant safe temperature.
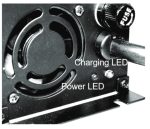
Front LED Indicators –
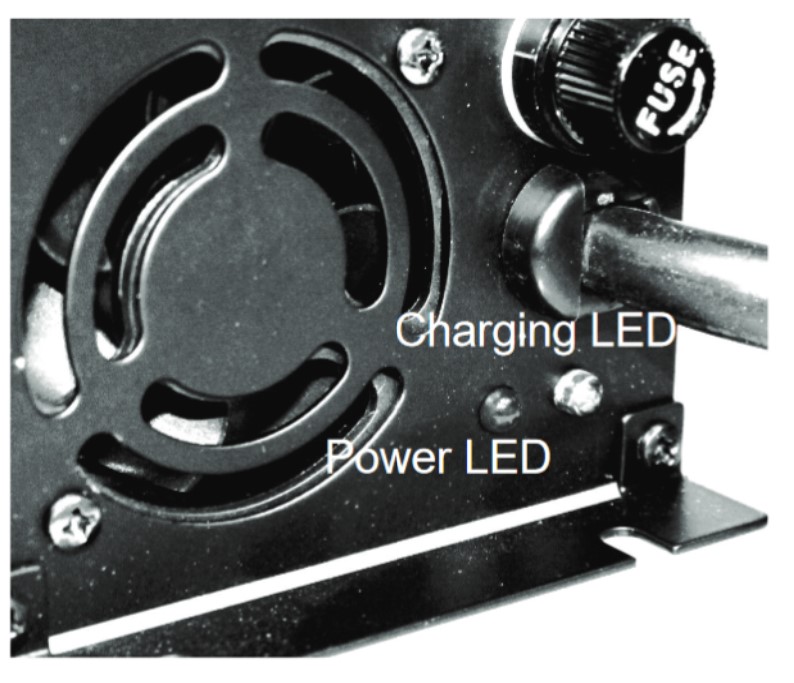
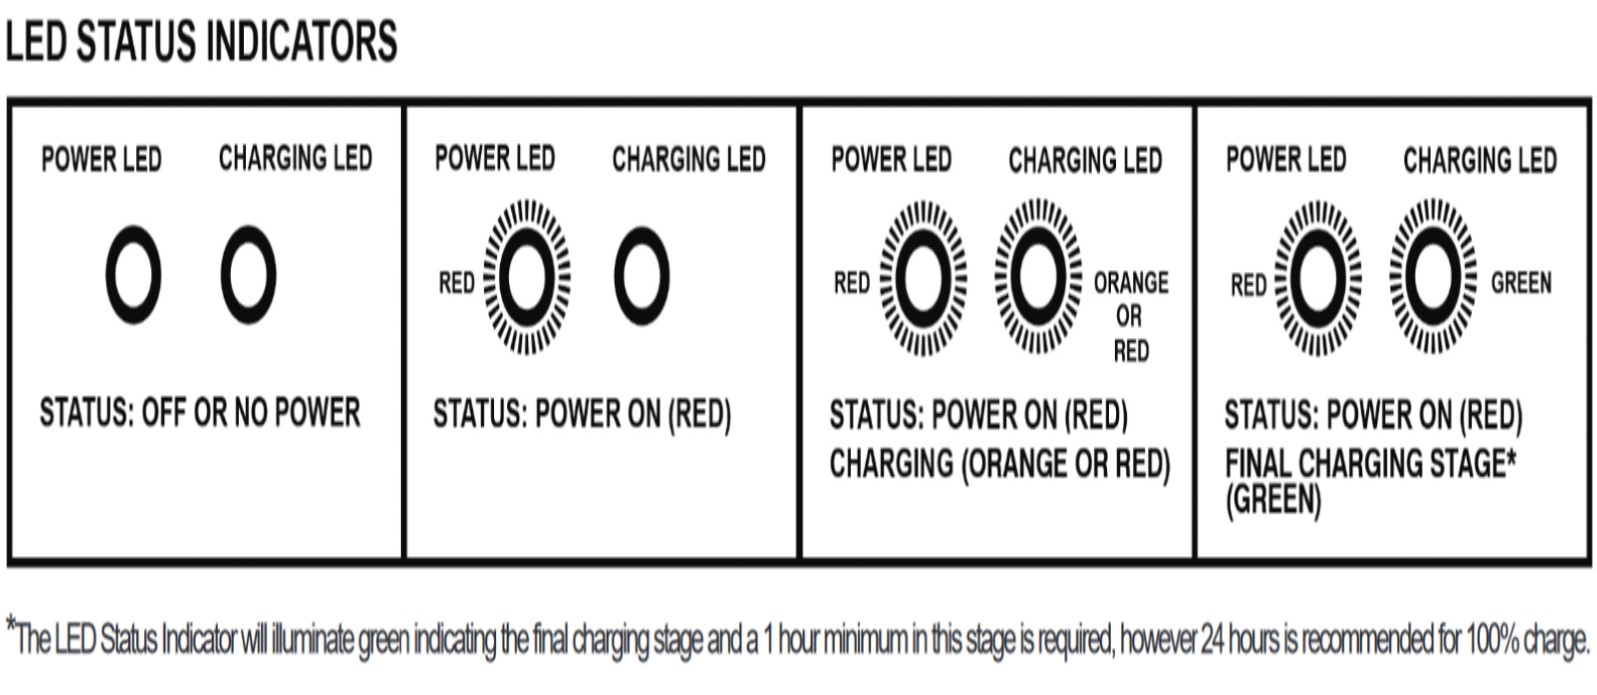
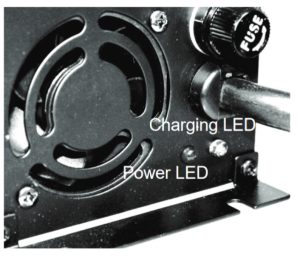
1) Power LED Indicator: Illuminates red when power cord is plugged in.
2) Charging LED Indicator: Illuminates orange or red when in charge mode and
changes to green when battery charging is in the final stage*. During this stage
a 1 hour minimum in this stage is required, however 24 hours is recommended
for 100% charge. If the Charging LED Indicator remains orange or red after a 10
hour period switch the charger OFF and remove the battery connections. Insure
the battery polarity is correct, and if so, replace the battery.
3) Fuse holder: Contains a 10A fuse in case of overload.
Operation –
1) Plug the charger into a grounded wall receptacle.
2) Connect the red positive (+) clip of the charger cables to the positive (+) terminal of the battery.
3) Connect the black negative (–) clip of the charger cables to a solid chassis ground. If this is not
possible, connectit to the negative (–) battery terminal.
4) The Power LED will illuminate red while the microprocessors analyze the battery and after a short
delay, the Charging LED Indicator on the front panel will illuminate orange, beginning the
three-stage charging sequence.
5) When complete, the Charging LED Indicator will turn green.
6) Remove the black negative (–) clip and the red positive (+) clip from the vehicle’s battery terminals.
Product Highlights:
* 3-stage charger for lead-acid and AGM batteries
* charges 12-volt maintenance free, deep cycle, gel-cell, and AGM (Absorbed Glass Mat) batteries
* maximum output voltage: 14.4V
* output current: 8A
* full reverse polarity, short-circuit, and overload protection
* dimensions: 6.1″W x 2″H x 3.54″D
* weight: 2.2 lbs.
* comes installed with One T15AL250V 15A fuse and One F6.3AL250V 6.3A fuse
* comes with 2 Spare F15AL250V fuses
* warranty: 1 year
Additional information
| Weight | 4 lbs |
|---|---|
| Dimensions | 9 × 6 × 6 in |
Specifications
Specifications
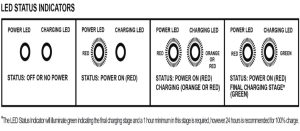
Front LED Indicators –
1) Power LED Indicator: Illuminates red when power cord is plugged in.
2) Charging LED Indicator: Illuminates orange or red when in charge mode and
changes to green when battery charging is in the final stage*. During this stage
a 1 hour minimum in this stage is required, however 24 hours is recommended
for 100% charge. If the Charging LED Indicator remains orange or red after a 10
hour period switch the charger OFF and remove the battery connections. Insure
the battery polarity is correct, and if so, replace the battery.
3) Fuse holder: Contains a 10A fuse in case of overload.
Operation –
1) Plug the charger into a grounded wall receptacle.
2) Connect the red positive (+) clip of the charger cables to the positive (+) terminal of the battery.
3) Connect the black negative (–) clip of the charger cables to a solid chassis ground. If this is not
possible, connectit to the negative (–) battery terminal.
4) The Power LED will illuminate red while the microprocessors analyze the battery and after a short
delay, the Charging LED Indicator on the front panel will illuminate orange, beginning the
three-stage charging sequence.
5) When complete, the Charging LED Indicator will turn green.
6) Remove the black negative (–) clip and the red positive (+) clip from the vehicle’s battery terminals.
CHG8A12V Model
AC Input Specifications
AC Input Voltage: 100-120/200-230 VAC, 47-63 Hz
AC Input Current: 5A RMS fuse protected
Protection
Battery Reverse: YES
Short Circuit: YES
Overload: YES
Speed controlled cooling fan by charge stage
Additional Information
Additional Information
What’s in the box:
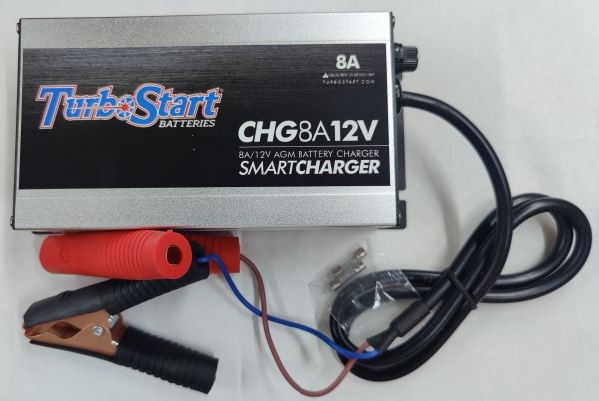
Charger w/ two attached cable-clamps on 41″ of cable
58″ AC power cord (IEC 3-pin)
One T15AL250V 15A fuse (installed)
One F6.3AL250V 6.3A fuse (installed)
2 Spare F15AL250V fuses
Instruction sheet


